# wowcheckout
A fork of [xmrcheckout](https://github.com/xmrcheckout/xmrcheckout) adapted for Wownero. Non-custodial Wownero checkout software for merchants. Payments go directly from the customer to the merchant wallet.
wowcheckout is open source and self-hostable. It creates invoices, shows payment instructions, and watches the chain for incoming payments using view-only wallet access (address + secret view key). It can also notify your systems via API and webhooks.
Hard rules:
- It never requests or stores private spend keys.
- It never signs transactions.
- It never moves funds on behalf of users.
- View-only access (wallet address + private view key) is the maximum trust boundary.
## Contents
- [Who it's for](#who-its-for)
- [What it does](#what-it-does)
- [Trust model](#trust-model)
- [Repository layout](#repository-layout)
- [Screenshots](#screenshots)
- [Quick start](#quick-start)
- [Self-hosted deployment](#self-hosted-deployment-docker-compose)
- [Self-hosted deployment (no Docker)](#self-hosted-deployment-no-docker)
- [Admin panel](#admin-panel)
- [Development (API)](#development-api-python)
## Who it's for
If you want Wownero payments to go straight to your own wallet, this is for you.
Common fits:
- A merchant who wants a clean hosted checkout UI (self-hosted by you).
- A team that wants API + webhooks to plug into an existing order flow.
- Anyone who prefers a conservative trust model (view-only access for detection).
## What it does
Typical flow:
1. Your integration creates an invoice (defined in WOW).
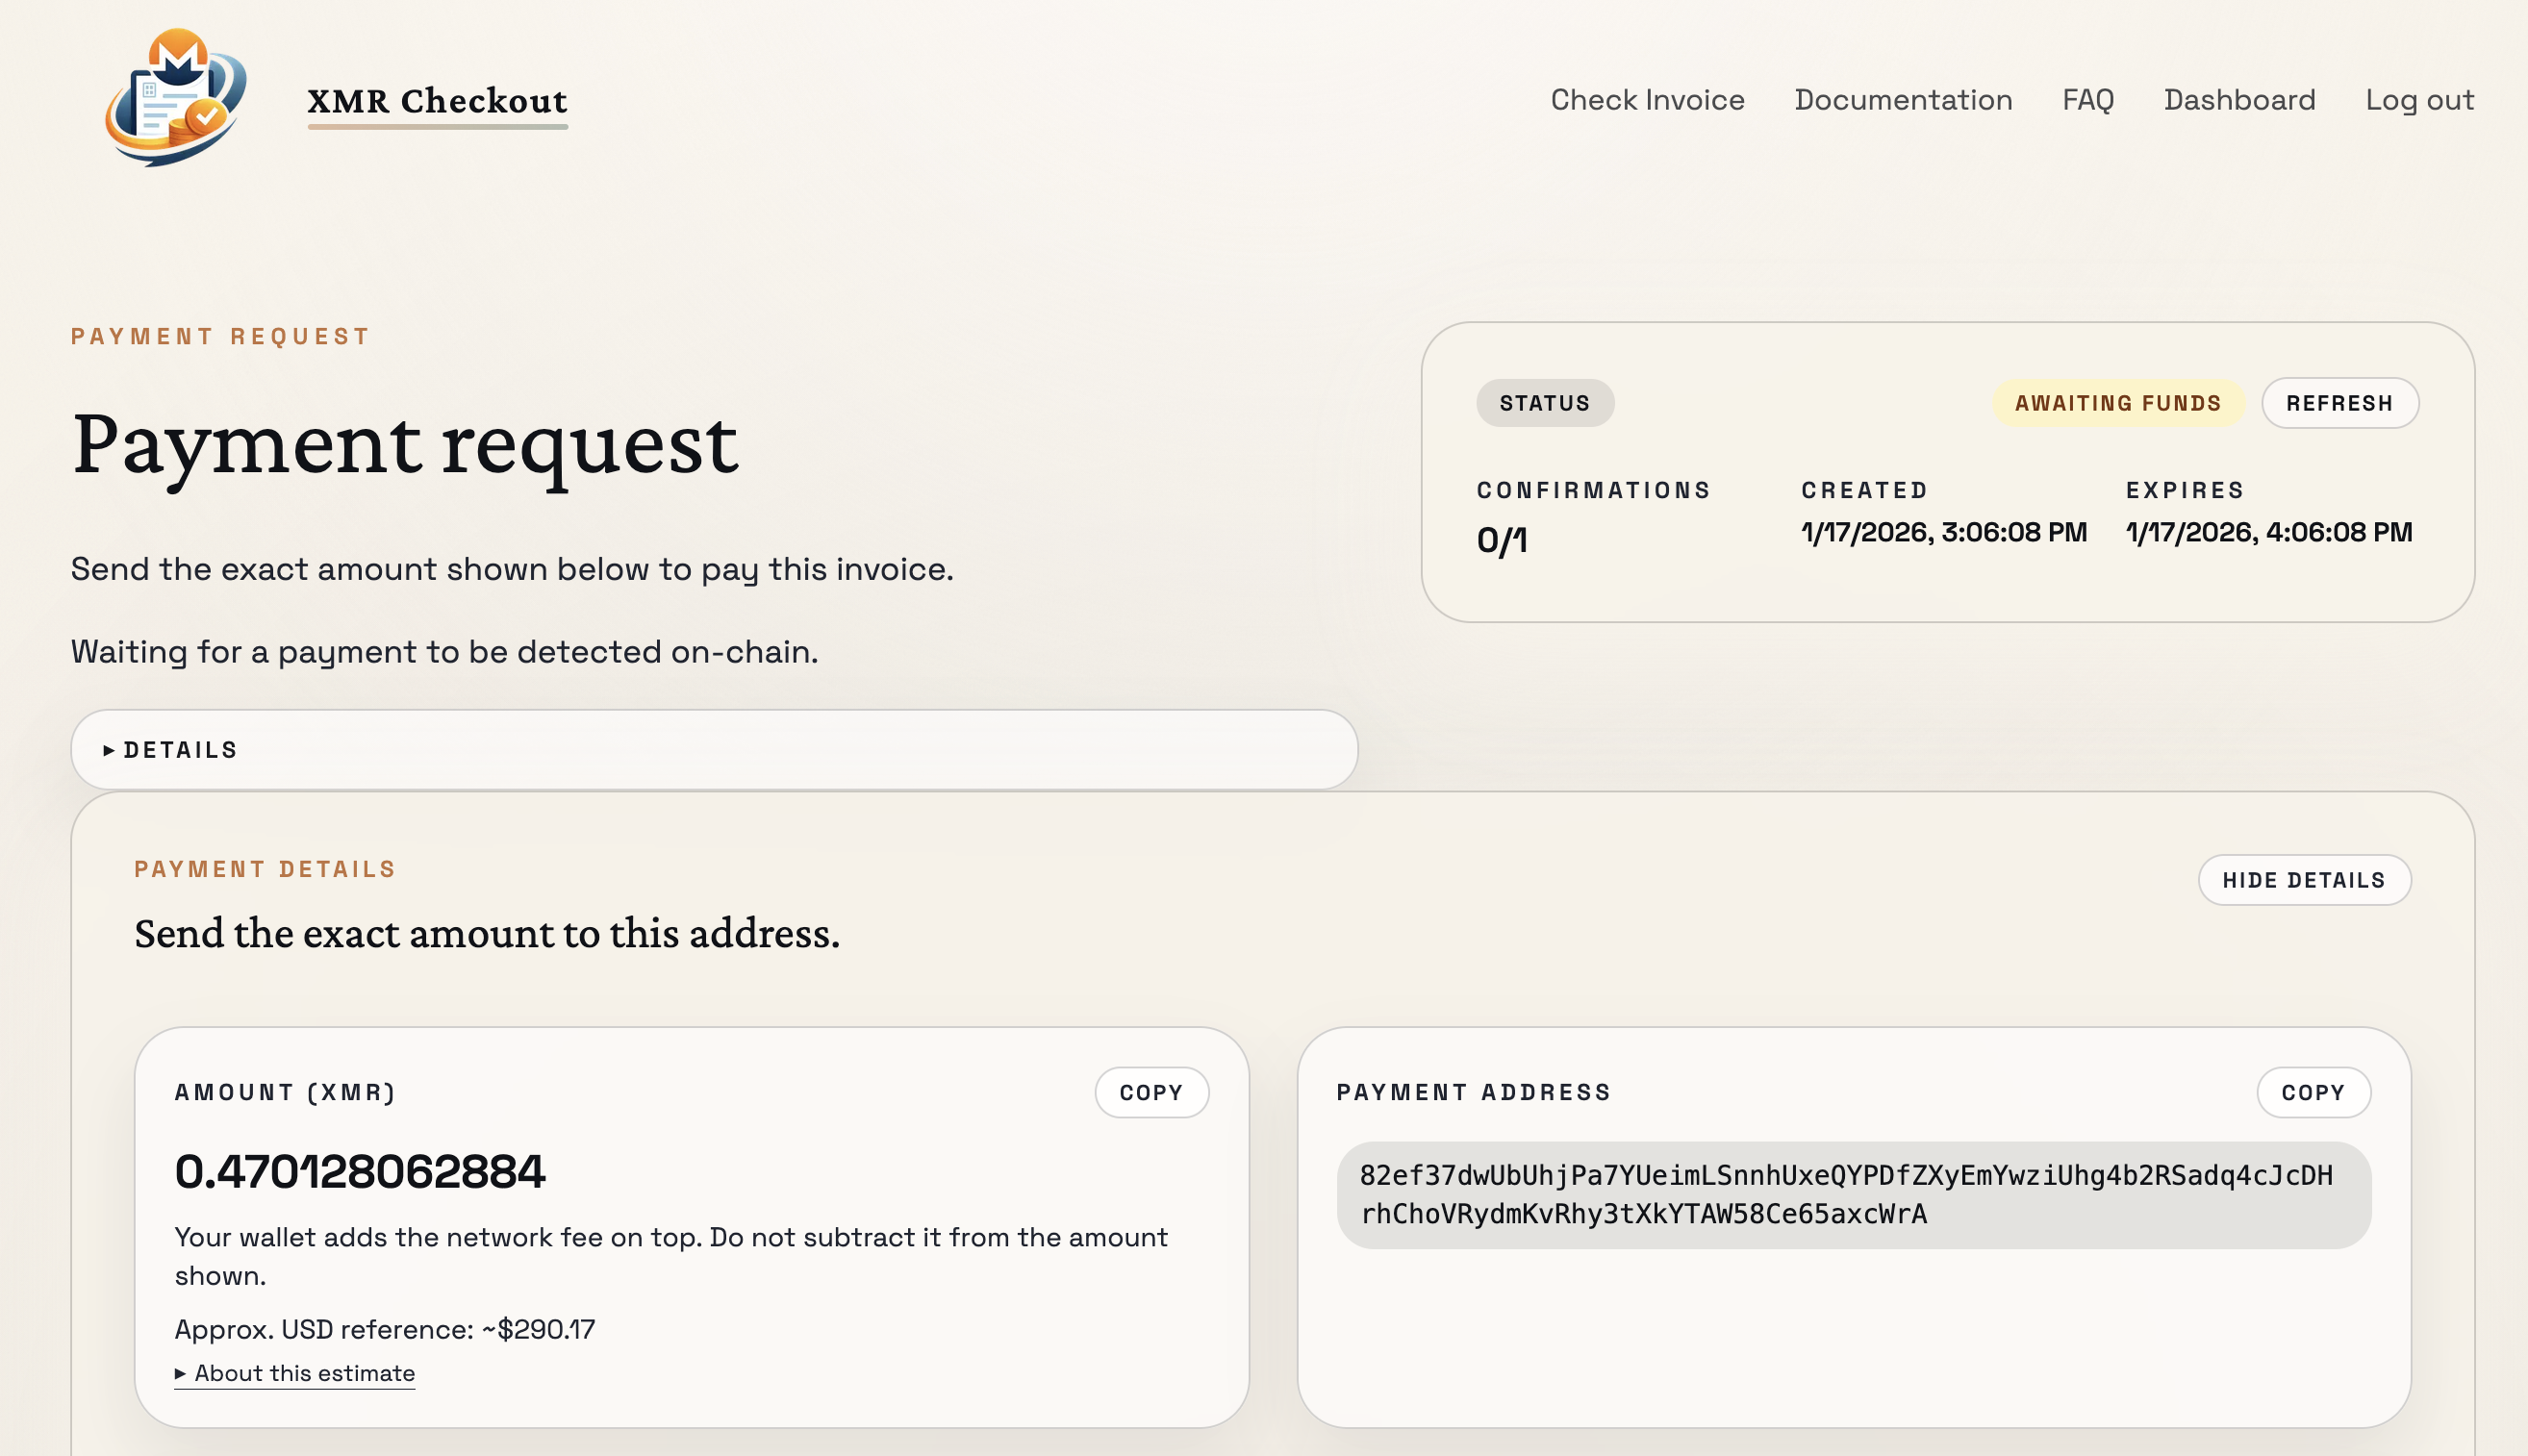
2. The UI shows payment instructions (address + amount).
3. The system observes the chain using view-only wallet access to detect payments and update invoice status.
4. Optional integrations (for example webhooks) can be used to trigger your internal order flow.
Not included (by design):
- It does not provide custody, refunds, or any fund-moving automation.
- It does not act as a financial intermediary.
- It does not touch fiat rails in the core system.
## Trust model
- Funds always move from the customer to the merchant wallet; wowcheckout only observes the chain and reports status.
- You keep spend authority. The maximum permission level wowcheckout uses is view-only wallet access (wallet address + private view key).
- If any configuration or integration implies spend authority, treat it as a misconfiguration and stop.
## Pricing
WOW/USD rates are derived in two steps:
1. **WOW-BTC** price from [Nonlogs](https://api.nonlogs.io/api/markets)
2. **BTC/USD** price from [Kraken](https://api.kraken.com/0/public/Ticker?pair=XXBTZUSD)
The final rate is `WOW-BTC × BTC/USD`. Both values are cached briefly (60s for WOW-BTC, 30s for BTC/USD) to avoid excessive API calls.
## Differences from xmrcheckout
The file and folder structure is kept identical to xmrcheckout to make upstream syncing easy. Key content differences:
- `api/app/rates.py` — Nonlogs WOW-BTC + Kraken BTC/USD instead of Kraken XMR/USD
- `api/app/subaddress_derivation.py` — Wownero network byte overrides (mainnet=53, subaddress=63, integrated=54)
- `api/app/qr_codes.py` — `wownero:` URI scheme
- `docker/monero/Dockerfile` — Downloads Wownero binaries from Codeberg
- `docker-compose.yml` — `wownero-wallet-rpc` commands, port 34568, Wownero daemon URL
## Deployment
The default Docker Compose config exposes nginx on **port 8180** on the host. If you run wowcheckout alongside xmrcheckout on the same server, there is no port conflict — each app has its own Docker network with separate nginx, API, and database containers bound to different host ports (xmrcheckout on 8080, wowcheckout on 8180).
## Repository layout
- `ui/`: web UI
- `api/`: API service (Python)
- `docker-compose.yml`: local stack and self-hosted deployment
- `nginx/`: optional reverse proxy / TLS termination (used by Docker Compose)
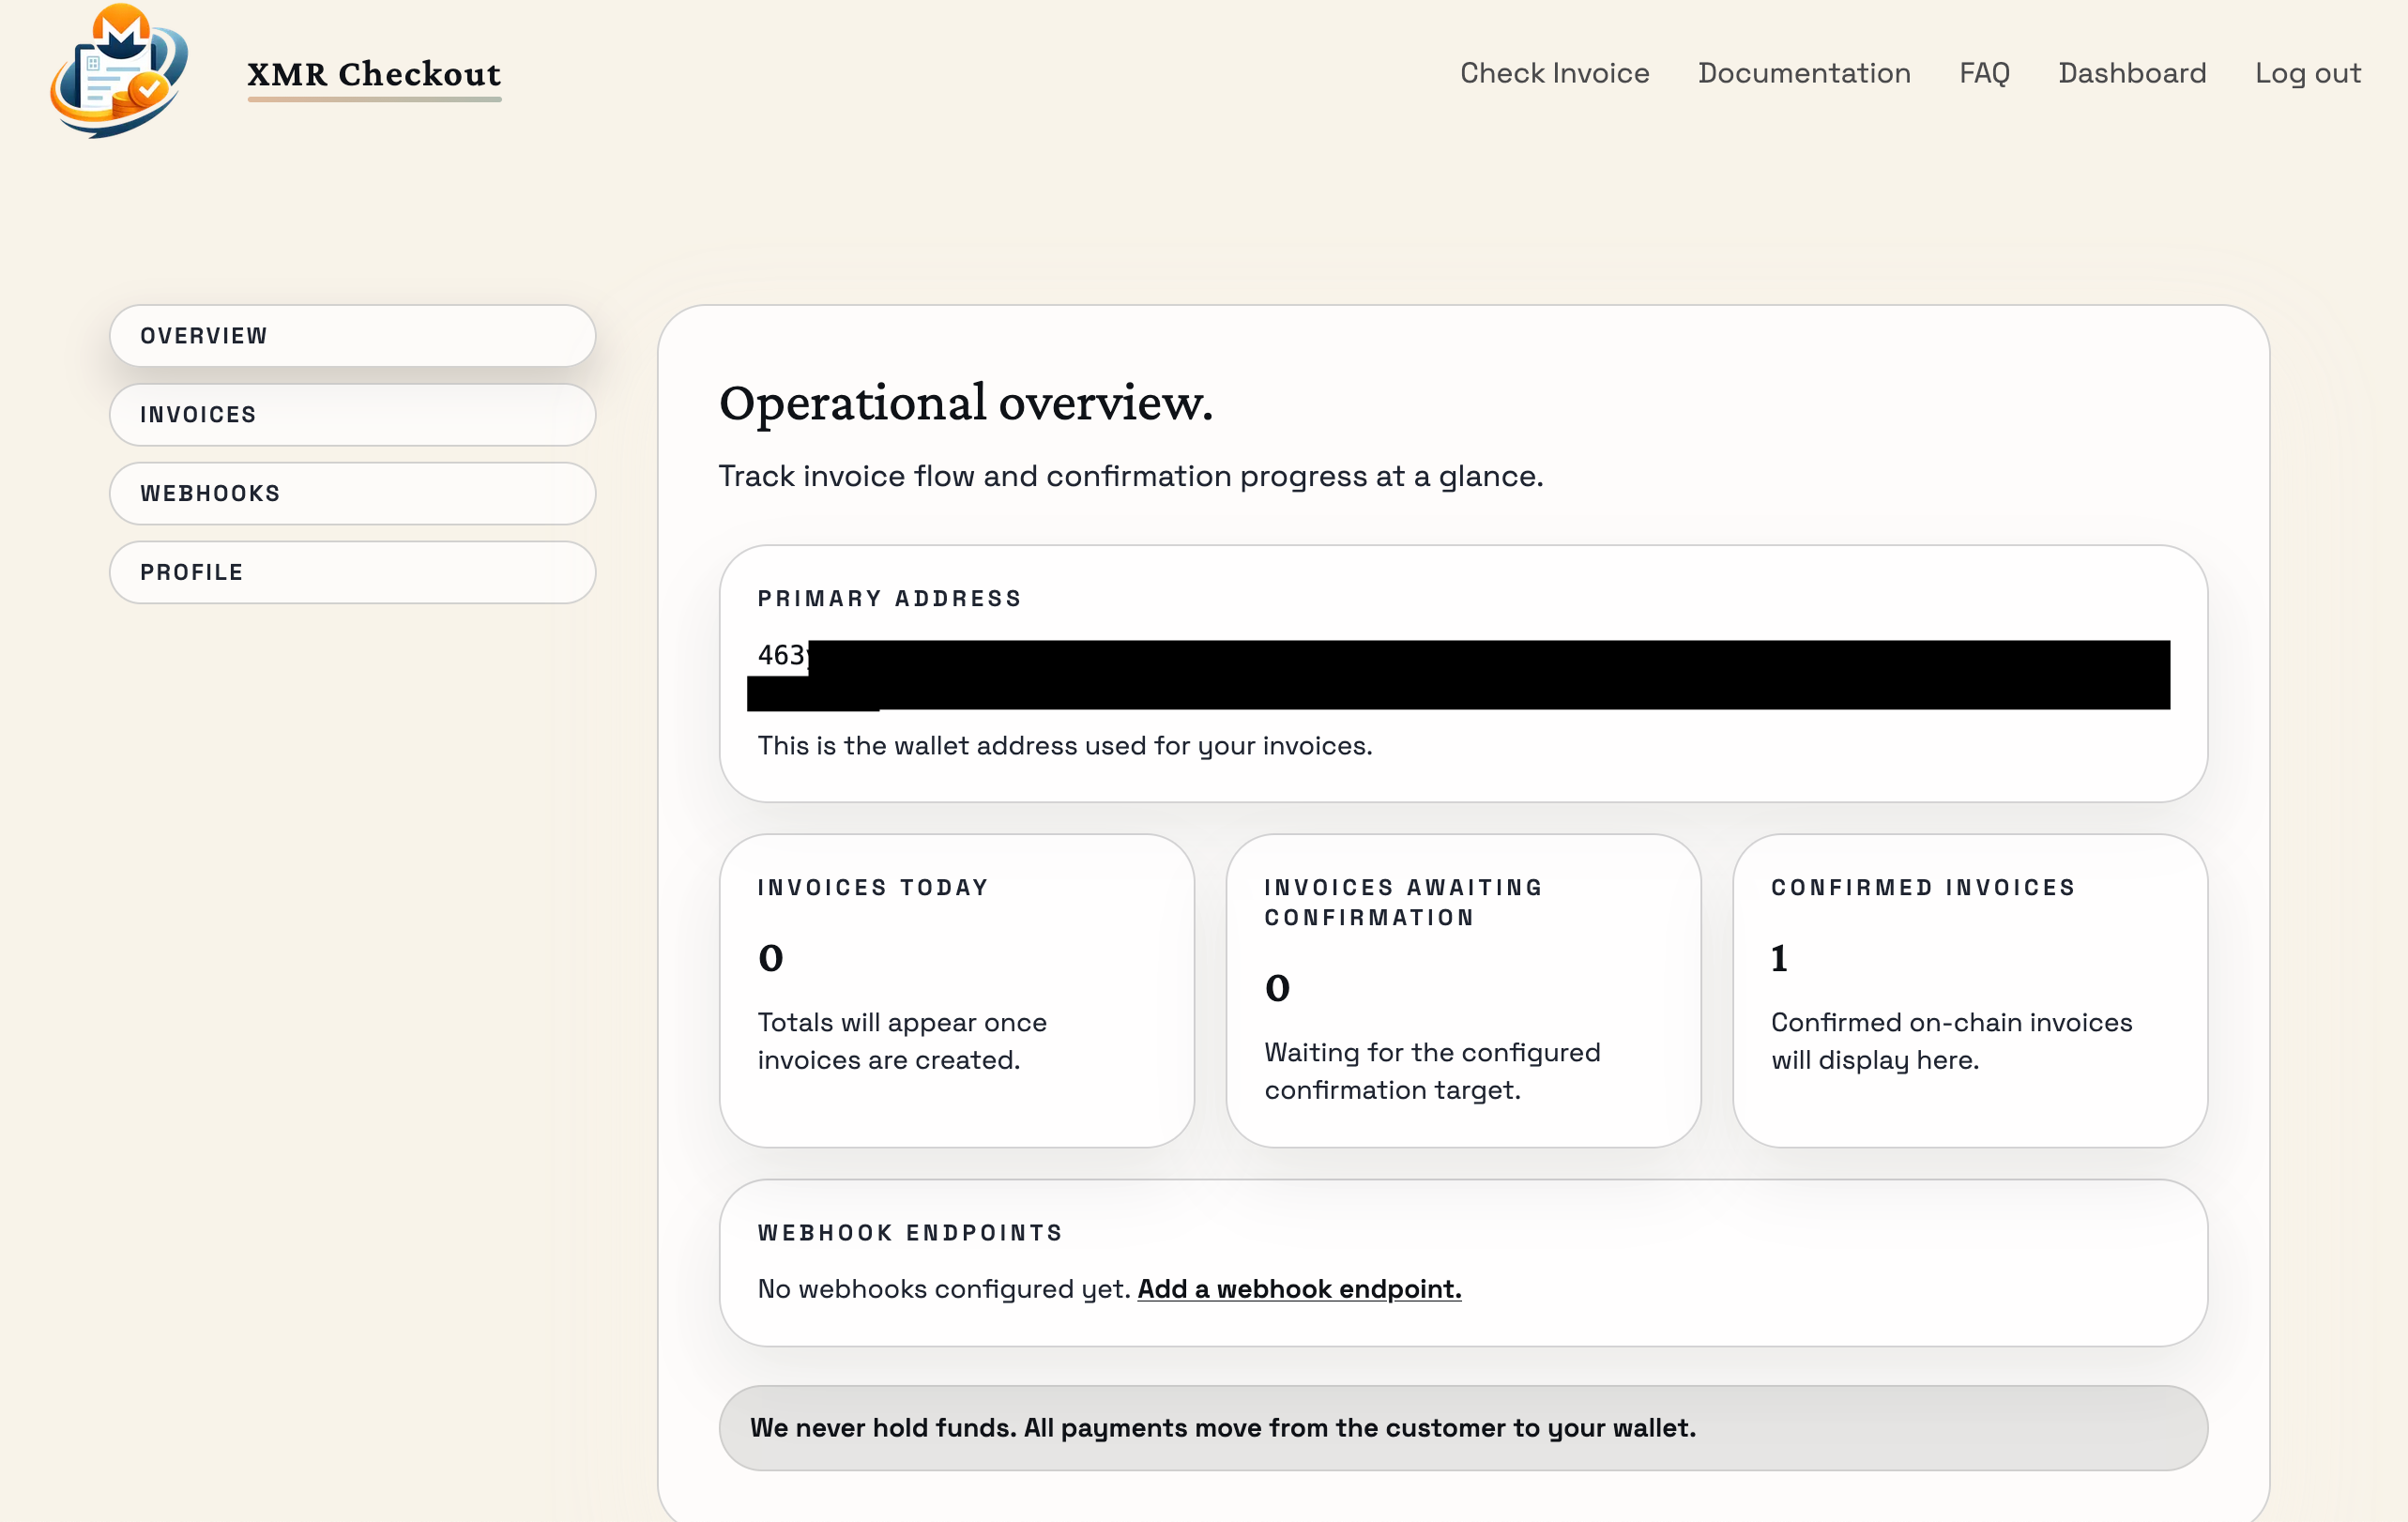
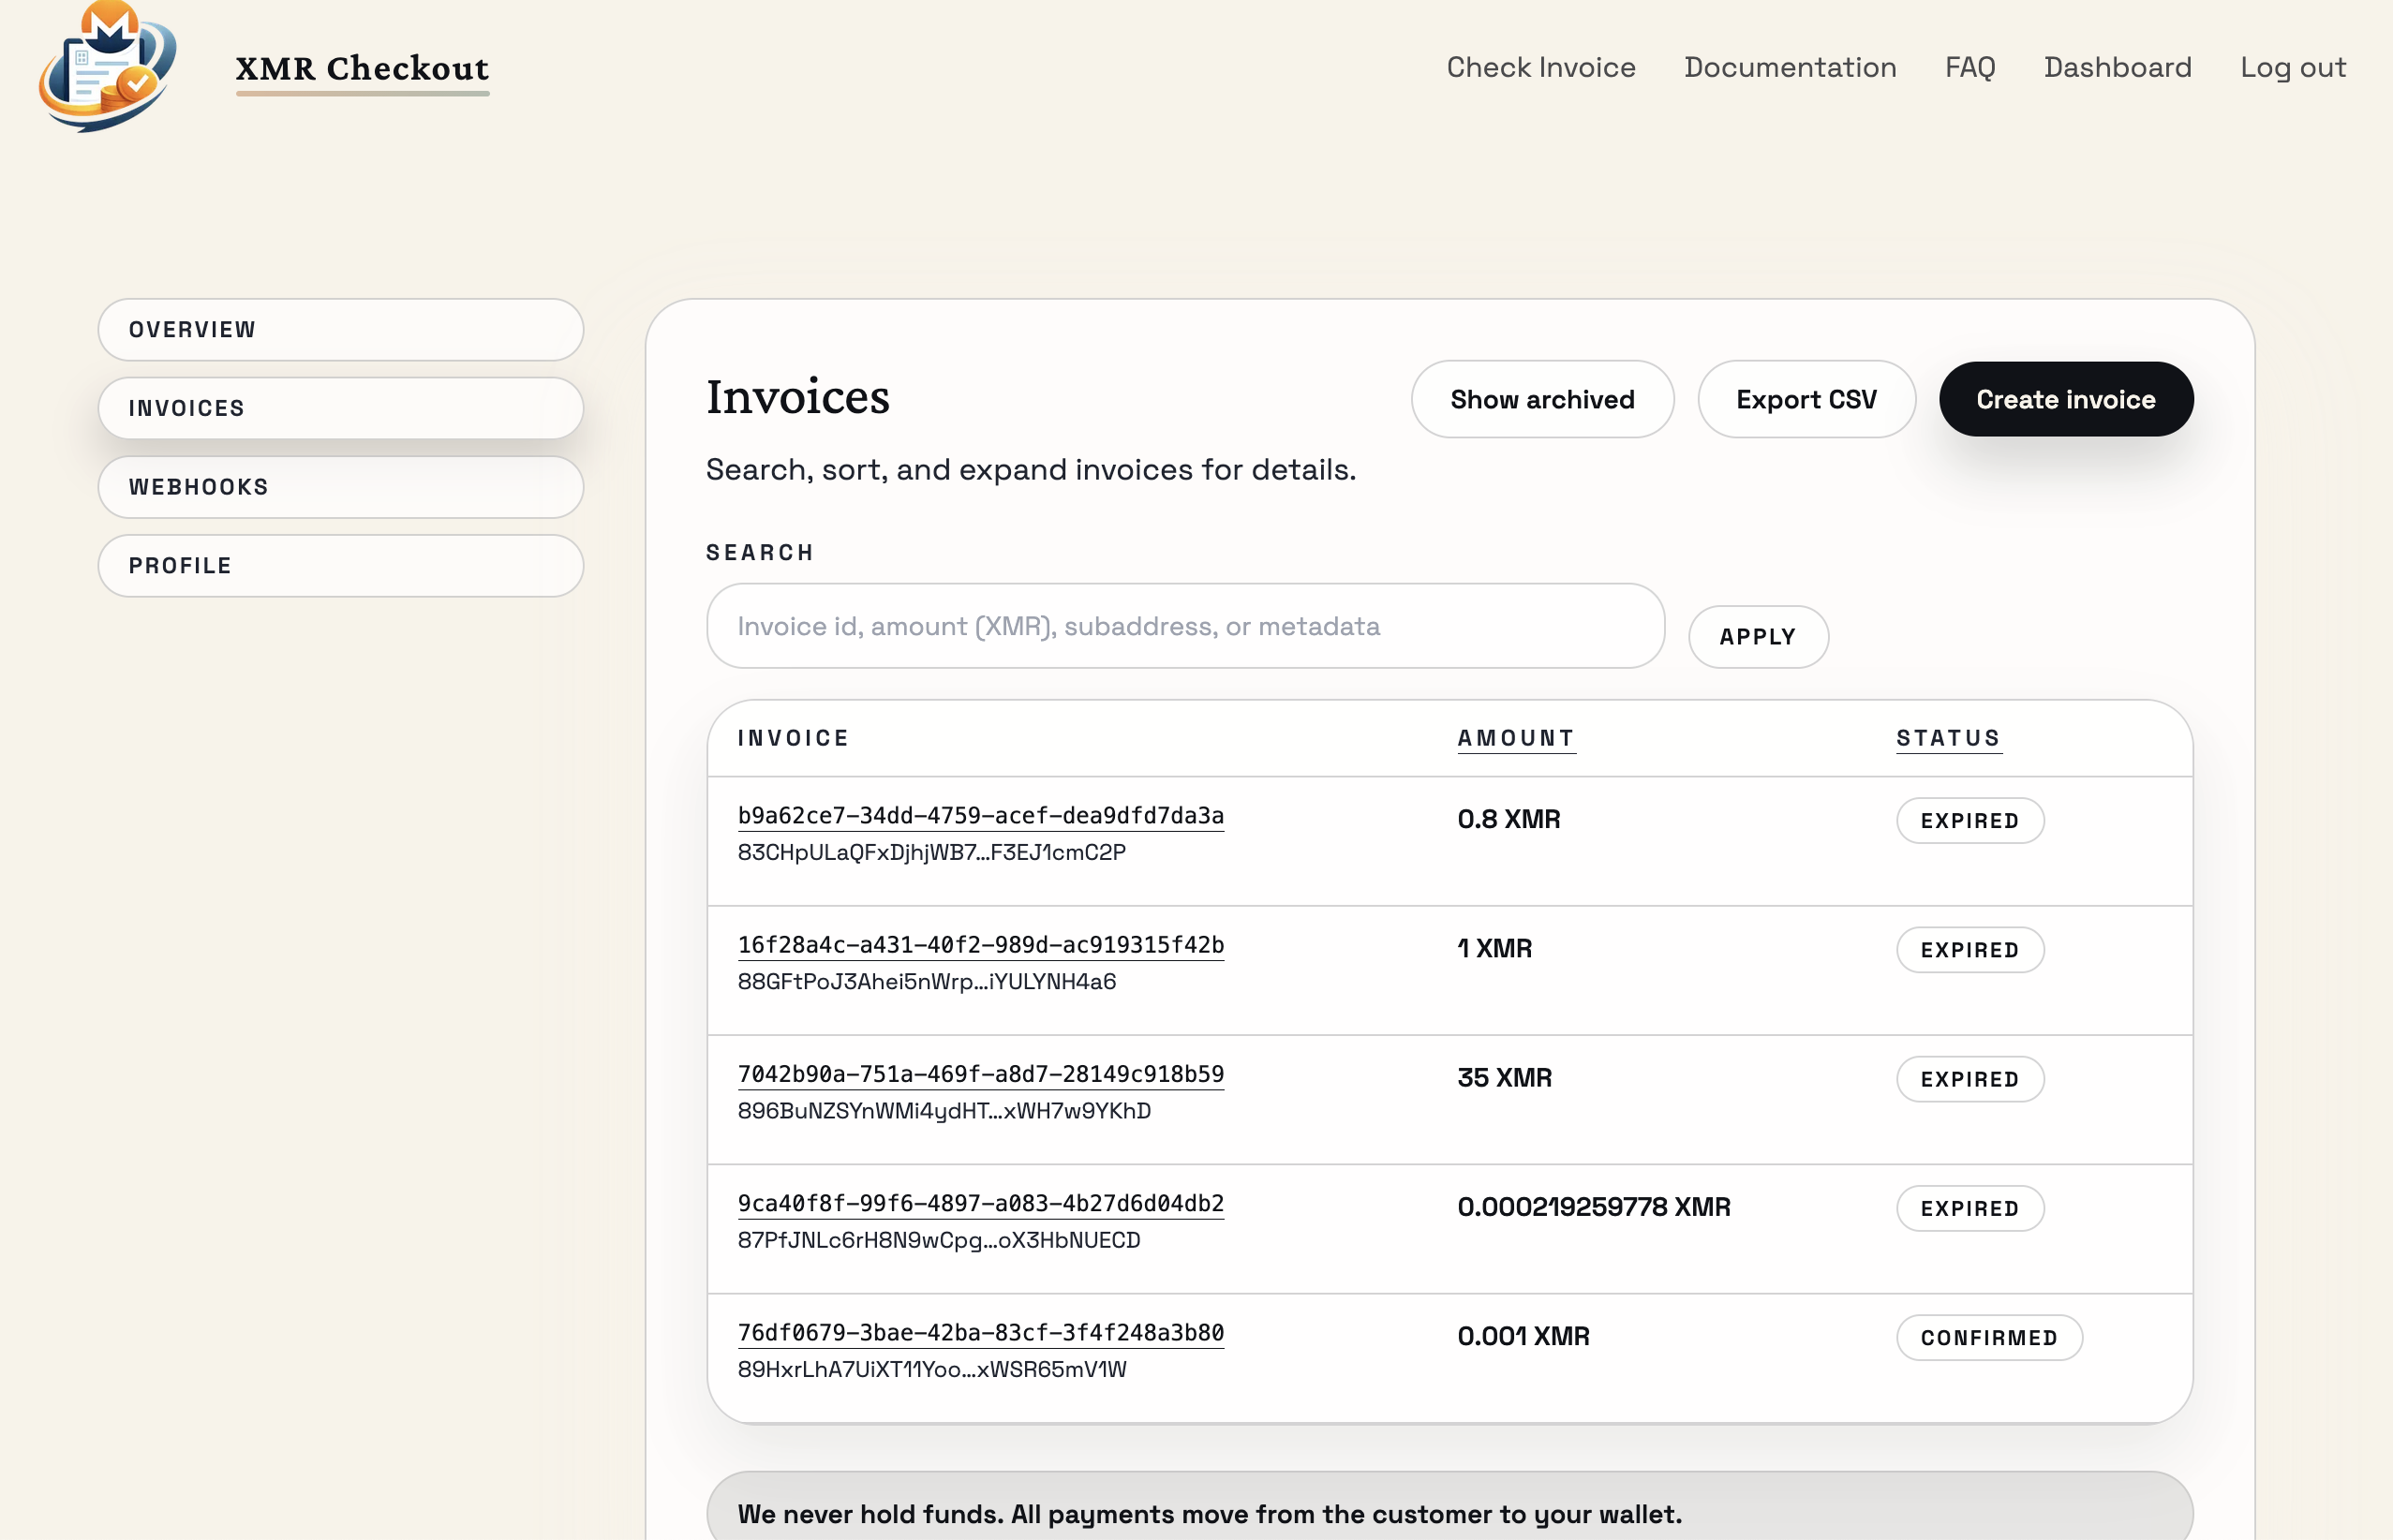
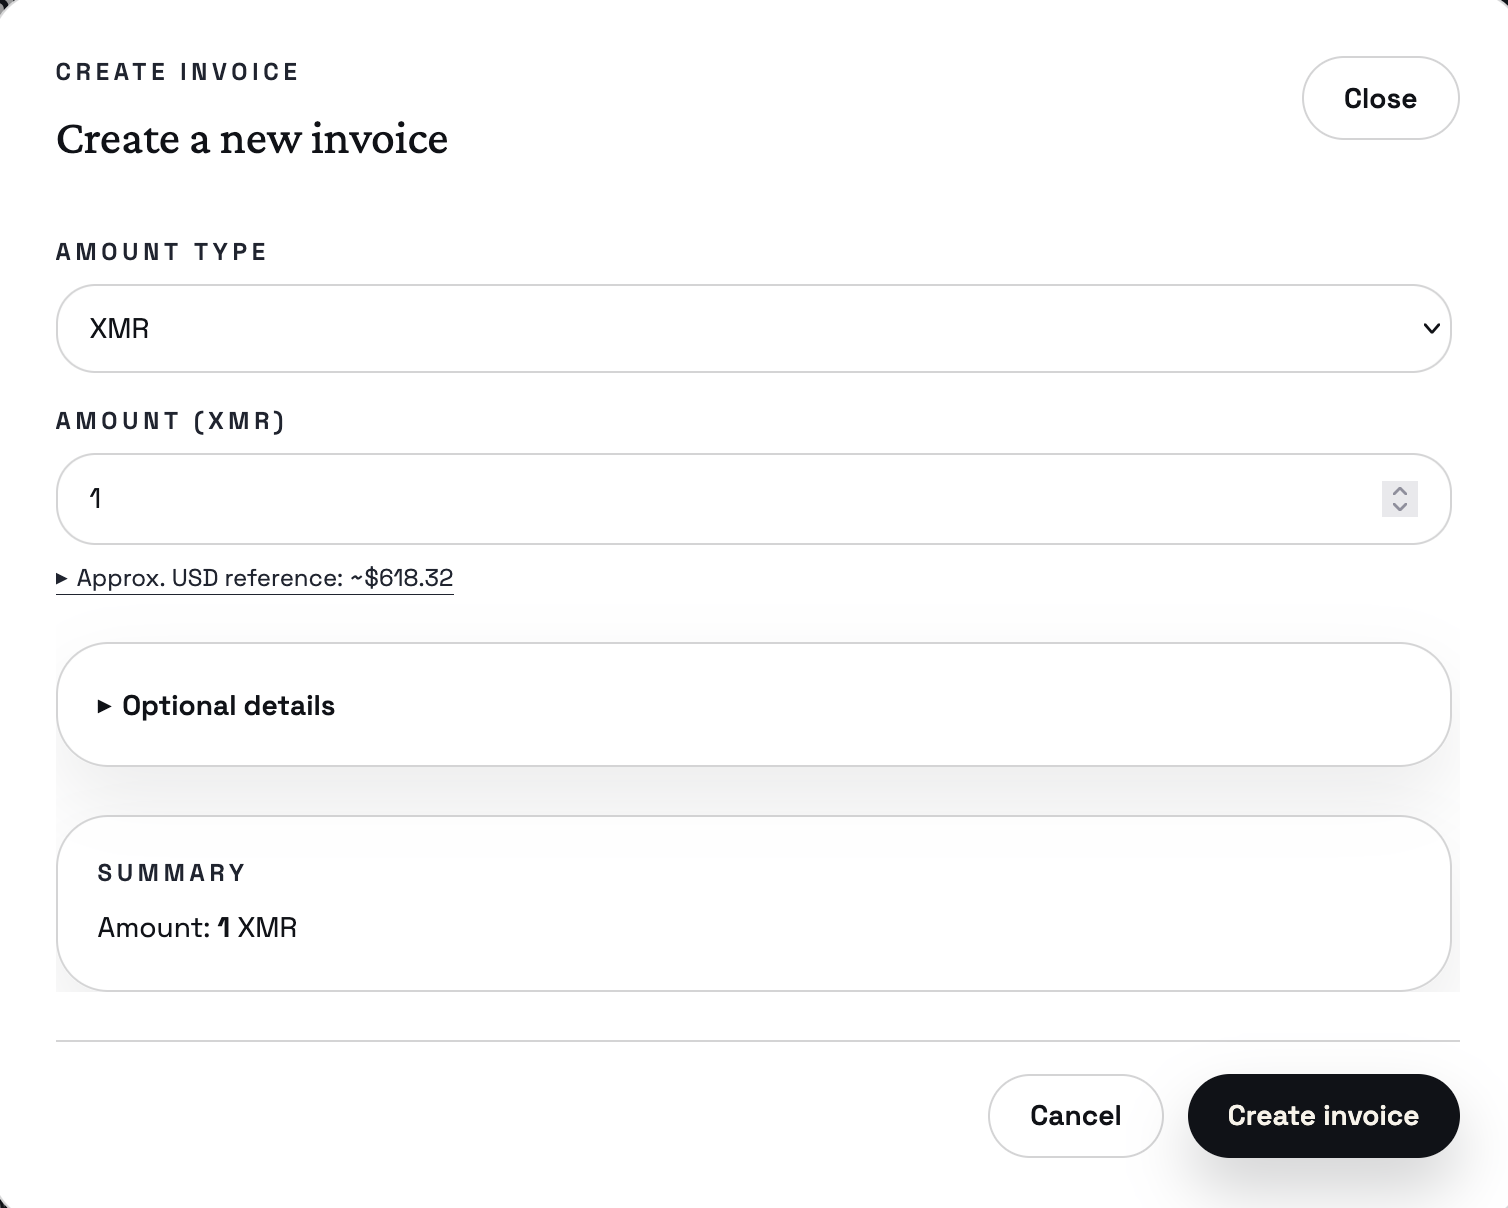
## Screenshots
Post-login UI:
### Dashboard
### Invoices
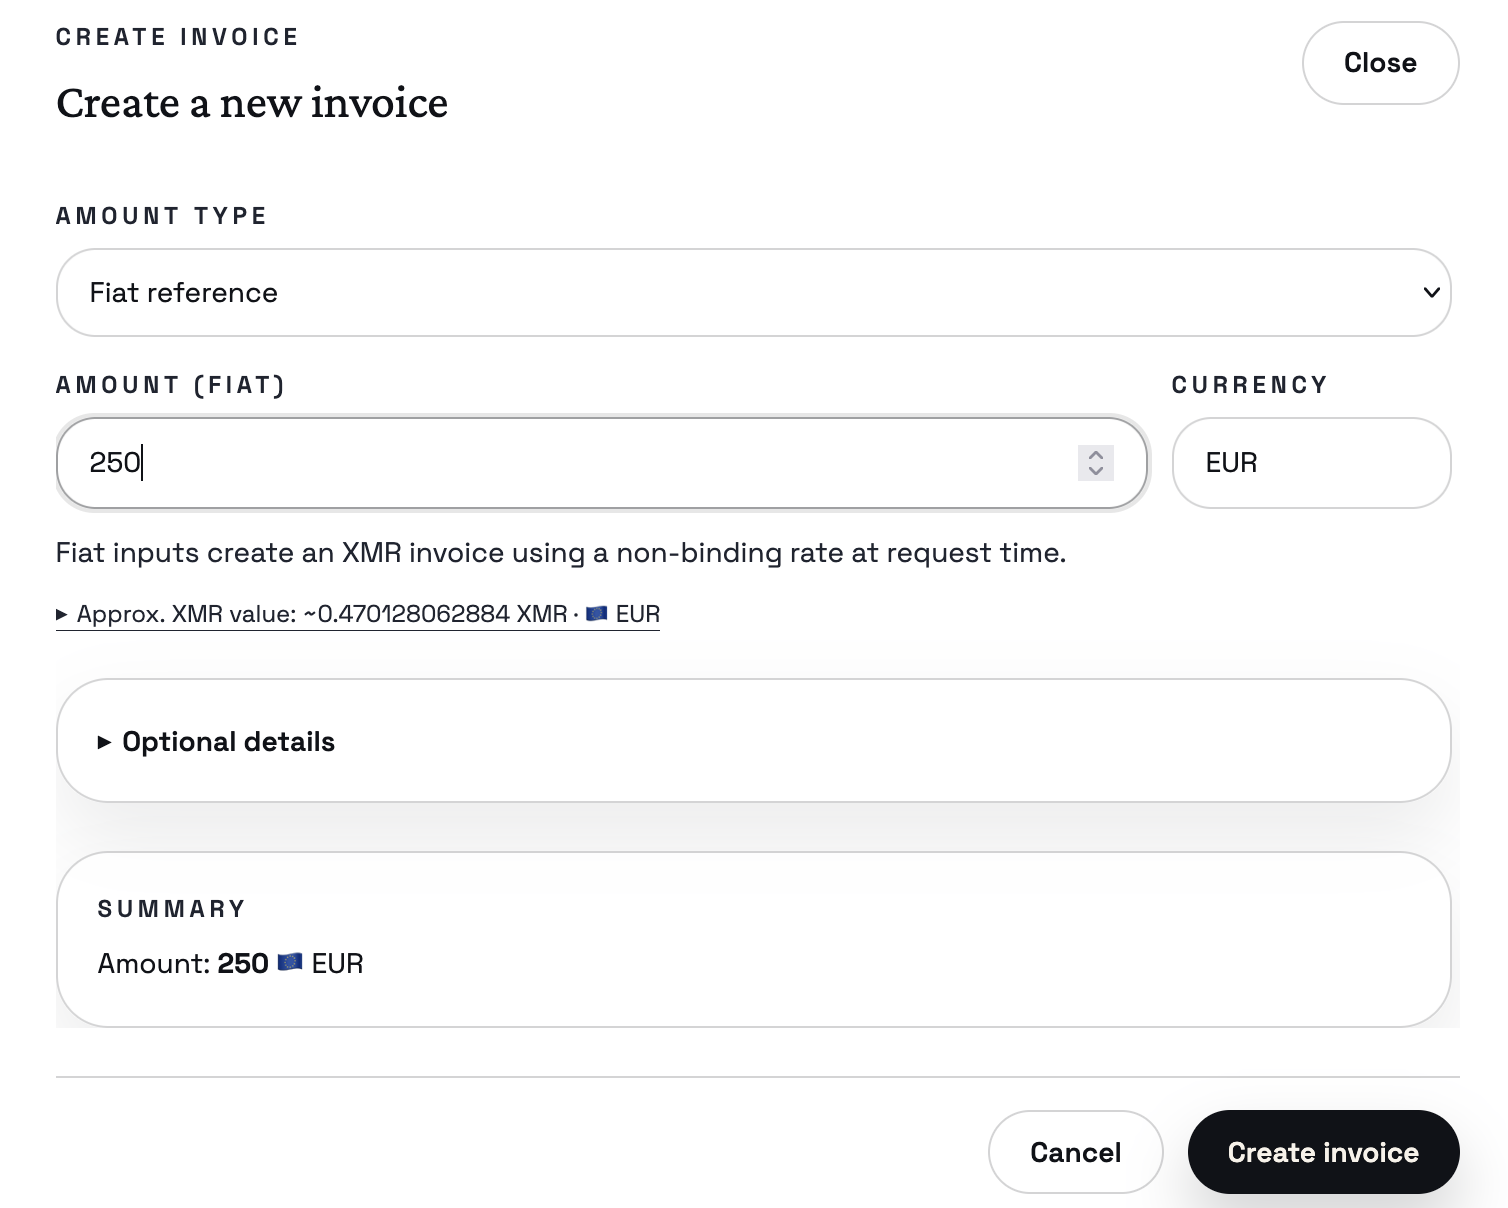
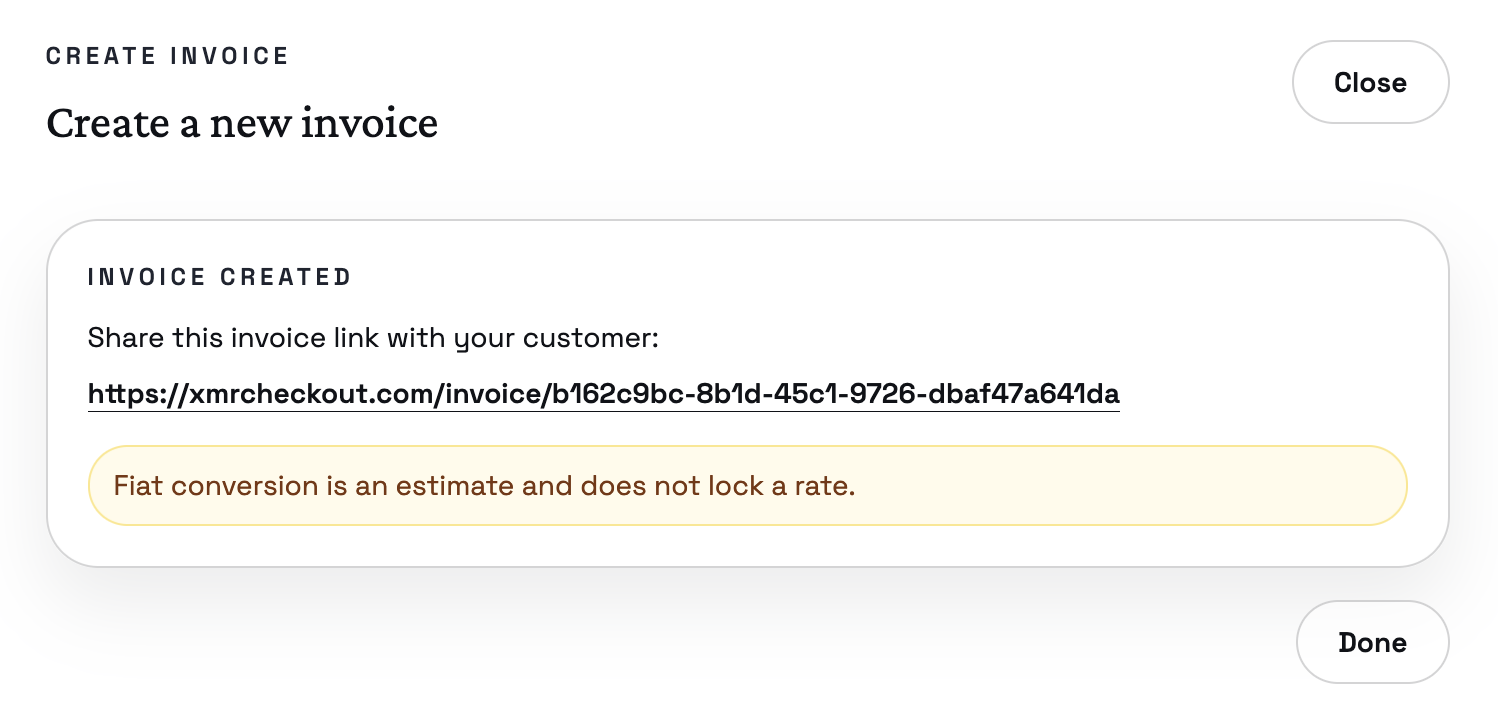
### Create invoice
### Public invoice page
## Quick start
### Homepage only (Docker)
```
docker build -t wowcheckout-home .
docker run --rm -p 8180:80 wowcheckout-home
```
Open `http://localhost:8180`.
### Full stack (Docker Compose)
```
docker compose up --build
```
Open `http://localhost:8180` for the UI.
In the default Compose configuration, only `nginx` is published to the host. The API, Postgres, and wallet-rpc services are reachable only inside the Docker network.
If you prefer not to run `nginx`, you can publish `ui` and `api` ports directly instead (you will also need to serve `qr/` at `/qr/` on your site URL).
## Self-hosted deployment (Docker Compose)
1. Copy the environment template and fill in required values:
```
cp .env.example .env
```
2. Set required values in `.env`:
- `POSTGRES_USER`, `POSTGRES_PASSWORD`, `POSTGRES_DB`
- `API_KEYS`, `API_KEY_ENCRYPTION_KEY`
- `SITE_URL` (public URL for the UI)
- Wownero view-only wallet settings (`MONERO_WALLET_RPC_*`)
- `MONERO_DAEMON_URL` (choose one of the options below)
3. Choose a Wownero daemon source:
- **Use an existing daemon (default):**
- Leave `MONERO_DAEMON_URL` as-is (the default points at a local Wownero daemon).
- **Run your own daemon via Docker Compose:**
- Set `MONERO_DAEMON_URL=http://wownerod:34568`
- Start the stack with the `local-daemon` profile (see step 5)
- Note: initial sync can take a long time and uses significant disk; payment detection won’t be reliable until the daemon is synced.
4. Choose a wallet-rpc target and provision view-only wallets:
- Use the bundled wallet-rpc containers:
- Set `MONERO_WALLET_RPC_URLS=http://wallet-rpc-reconciler-1:18083,http://wallet-rpc-reconciler-2:18083,http://wallet-rpc-reconciler-3:18083`
- Or point to an external wallet-rpc service:
- Set `MONERO_WALLET_RPC_URLS`, `MONERO_WALLET_RPC_USER`, `MONERO_WALLET_RPC_PASSWORD`, and `MONERO_WALLET_RPC_WALLET_PASSWORD`
5. Start the stack:
```
docker compose up --build -d
```
If you’re running the bundled `wownerod` service:
```
docker compose --profile local-daemon up --build -d
```
### Webhooks to external systems
wowcheckout can send BTCPay-compatible webhooks when invoice status changes (e.g., payment confirmed on-chain). Configure webhooks per-merchant via the admin panel or merchant dashboard.
If the webhook target is on the same LAN and Docker containers cannot resolve its hostname (NAT hairpinning), add `extra_hosts` to the `reconciler` service in `docker-compose.yml`:
```yaml
reconciler:
extra_hosts:
- "api.example.com:192.168.1.100"
```
### Optional: Postgres backups (disabled by default)
This repository includes an optional `db-backup` service that runs `pg_dump` hourly and writes backups to `./backups/postgres` on the host.
Enable it by starting Compose with the `db-backup` profile:
```
docker compose --profile db-backup up --build -d
```
Retention defaults to 7 days. To override:
- Set `BACKUP_RETENTION_DAYS` in `.env`
### Optional: donations (disabled by default)
Donation endpoints and UI are off by default for self-hosted deployments.
To enable donations:
- Set `DONATIONS_ENABLED=true`
- Set `FOUNDER_PAYMENT_ADDRESS` and `FOUNDER_VIEW_KEY`
The UI uses the same flag (via Compose), so `/donate` stays unavailable unless donations are explicitly enabled.
## Self-hosted deployment (no Docker)
This section describes running the services directly on a host (or VMs) without Docker.
You will run:
- Postgres (external service)
- API (`gunicorn` / `uvicorn`)
- Reconciler worker (a separate process)
- UI (Next.js)
- A reverse proxy is optional, but strongly recommended for TLS, serving `/qr/`, and providing a single origin for UI + API.
### 1. Install prerequisites
- Postgres 16+
- Python 3.12+
- Node.js 20+ (for the UI)
- A Wownero daemon endpoint (`MONERO_DAEMON_URL`) and at least one `wownero-wallet-rpc` instance reachable by the API
### 2. Configure environment variables
Start from `.env.example` and adjust for your host. For non-Docker deployments you will typically set:
- `DATABASE_URL=postgresql://...@127.0.0.1:5432/...`
- `QR_STORAGE_DIR` to a persistent directory on disk (for example `/var/lib/wowcheckout/qr`)
- `SITE_URL` to your public URL (for example `https://example.com`)
- `API_BASE_URL` for the UI:
- If using a reverse proxy that routes `/api/` to the API on the same origin, set `API_BASE_URL=https://example.com`
- If not using a reverse proxy, set `API_BASE_URL=http://127.0.0.1:8000` (see the notes in step 6)
If you need a new `API_KEY_ENCRYPTION_KEY` value:
```
python -c 'from cryptography.fernet import Fernet; print(Fernet.generate_key().decode())'
```
### 3. Create the Postgres database
Create a database and user matching your `DATABASE_URL`. On first startup, the API will create tables automatically.
### 4. Run the API
```
python -m venv api/.venv
api/.venv/bin/pip install -r api/requirements.txt
# Export env vars (or use your process manager to load them)
set -a
source .env
set +a
api/.venv/bin/gunicorn app.main:app -k uvicorn.workers.UvicornWorker -b 127.0.0.1:8000 -w "${GUNICORN_WORKERS:-2}" --chdir api
```
### 5. Run the reconciler worker
Run this as a separate long-running process (same environment variables as the API):
```
set -a
source .env
set +a
api/.venv/bin/python -m app.reconciler
```
### 6. Build and run the UI
```
cd ui
npm ci
# Optional but recommended to keep these explicit in non-Docker deployments
export API_BASE_URL="${API_BASE_URL:-http://127.0.0.1:8000}"
export NEXT_PUBLIC_SITE_URL="${SITE_URL:-http://127.0.0.1:3000}"
export NEXT_PUBLIC_DONATIONS_ENABLED="${DONATIONS_ENABLED:-false}"
npm run build
npm run start -- -p 3000 -H 127.0.0.1
```
Notes:
- The UI makes some in-browser requests to `/api/...` on the same origin. In production, prefer a reverse proxy that serves the UI and forwards `/api/` to the API.
- The QR PNGs are written to `QR_STORAGE_DIR` and must be reachable at `https:///qr/.png`.
### Optional: reverse proxy (Nginx)
Nginx is optional. Any reverse proxy that can:
- route `/api/` to the API,
- route `/` to the UI,
- and serve the QR directory at `/qr/`
is fine.
Example (adjust `server_name`, TLS, and paths to match your host):
```
server {
listen 443 ssl;
server_name example.com;
# ssl_certificate ...;
# ssl_certificate_key ...;
location /api/ {
proxy_pass http://127.0.0.1:8000/api/;
proxy_set_header Host $host;
proxy_set_header X-Forwarded-For $proxy_add_x_forwarded_for;
proxy_set_header X-Forwarded-Proto $scheme;
}
location /qr/ {
alias /var/lib/wowcheckout/qr/;
add_header Cache-Control "public, max-age=31536000, immutable";
try_files $uri =404;
}
location / {
proxy_pass http://127.0.0.1:3000/;
proxy_set_header Host $host;
proxy_set_header X-Forwarded-For $proxy_add_x_forwarded_for;
proxy_set_header X-Forwarded-Proto $scheme;
}
}
```
## Admin panel
The admin panel lets you manage merchants (create, view, delete) without touching the database directly.
### Setup
Set `ADMIN_API_KEY` in `.env` (generate with `openssl rand -base64 32 | tr -d '=' | head -c 32`).
### Usage
Visit `/admin` in your browser and enter the admin API key to log in.
From the admin panel you can:
- View all registered merchants and their invoice counts
- Create new merchants by entering their Wownero primary address and secret view key
- View a merchant's API key and webhook secret (shown once on creation, also viewable in detail)
- Delete a merchant and all associated data (invoices, webhooks, etc.)
### Admin API
All endpoints require the `X-Admin-Key` header set to your `ADMIN_API_KEY`.
```
POST /api/admin/auth/verify — verify admin key
GET /api/admin/users — list all merchants
GET /api/admin/users/{id} — merchant detail
POST /api/admin/users — create merchant (body: {"payment_address": "...", "view_key": "..."})
DELETE /api/admin/users/{id} — delete merchant and all data
```
### Tenant login
Merchants log in at the homepage with their primary address + secret view key. They can only see their own store — invoices, webhooks, and profile settings. They have no access to other merchants' data or admin functions.
## Development (API, Python)
1. Set environment variables (see `api/.env.example`):
```
export DATABASE_URL=postgresql://wowcheckout:wowcheckout@localhost:5432/wowcheckout
export API_KEYS=change-me-1
```
2. Install dependencies:
```
python -m venv .venv
source .venv/bin/activate
pip install -r api/requirements.txt
```
3. Start the API:
```
cd api
uvicorn app.main:app --reload
```
The API listens on `http://127.0.0.1:8000`.